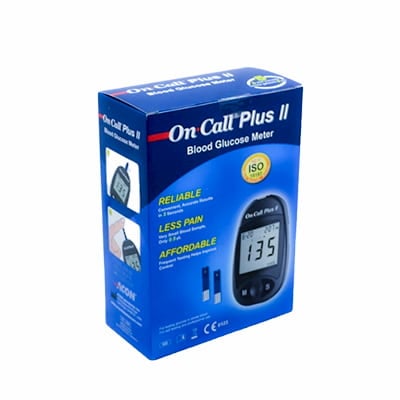
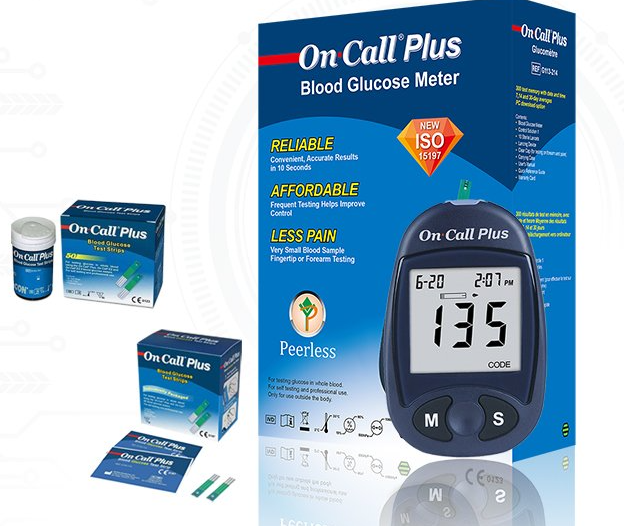
On Call Plus Blood Glucose Meter (Glucometer) – Accurate, Fast & Easy Blood Sugar Monitoring
Key Benefits of On Call Plus Blood Glucose Meter
Accurate Blood Glucose Results – Provides reliable and clinically proven readings for effective diabetes management.
Fast Testing Time – Delivers results in just a few seconds, saving time and improving convenience.
Small Blood Sample Required – Needs only a tiny drop of blood, making testing more comfortable.
Easy-to-Read Display – Large, clear screen for quick interpretation of results.
User-Friendly Design – Simple operation suitable for home use by all ages.
On Call Plus Blood Glucose Meter – Reliable Diabetes Care at Home
The On Call Plus Blood Glucose Meter (Glucometer) is a dependable and affordable device designed to help individuals monitor their blood sugar levels with confidence. Built with advanced biosensor technology, it ensures precise and consistent readings, supporting better diabetes control and daily health decisions.
Compact and portable, the On Call Plus glucometer is ideal for home use, travel, and regular self-monitoring. Its intuitive design makes it suitable for both newly diagnosed patients and those managing diabetes long term.
Why Choose On Call Plus Blood Glucose Meter?
High Accuracy & Consistency – Trusted results you can rely on.
Quick & Simple Testing – Minimal steps for hassle-free monitoring.
Comfortable Testing Experience – Requires less blood than many traditional meters.
Portable & Lightweight – Easy to carry wherever you go.
Cost-Effective Diabetes Solution – Affordable meter with widely available test strips.
How to Use the On Call Plus Glucometer
Insert an On Call Plus test strip into the meter.
Use a lancet to prick the side of your fingertip.
Apply a small drop of blood to the test strip.
Wait a few seconds for the result to appear on the screen.
Record or track your reading as advised by your healthcare provider.
What’s Included in the Box
On Call Plus Blood Glucose Meter
User Manual
Carrying Case
(Test strips and lancets are usually sold separately unless stated otherwise.)
Who Should Use the On Call Plus Blood Glucose Meter?
People living with diabetes (Type 1 or Type 2).
Individuals monitoring blood sugar at home.
Elderly users who need a simple, easy-to-read glucometer.
Anyone advised by a healthcare professional to check blood glucose regularly.
Buy On Call Plus Blood Glucose Meter at Pharmily Limited Kenya
Take control of your blood sugar monitoring with the On Call Plus Blood Glucose Meter, available at Pharmily Limited Kenya, your trusted online pharmacy.
✔ 100% authentic medical devices
✔ Competitive prices in Kenya
✔ Fast, reliable nationwide delivery
✔ Trusted by patients and healthcare providers
FAQs
Q: Is the On Call Plus glucometer accurate?
A: Yes, it uses advanced biosensor technology to provide accurate and reliable readings.
Q: Does it require a large blood sample?
A: No, it only needs a very small drop of blood for testing.
Q: Is it easy to use for beginners?
A: Yes, the simple design and clear display make it ideal for first-time users.
Q: Can I use it daily?
A: Absolutely. It is designed for regular daily blood glucose monitoring.
Q: Where can I buy On Call Plus test strips in Kenya?
A: Compatible test strips are available at Pharmily Limited Kenya.
There are no product reviews yet.
